Installing New Guitar Pickups: A Comprehensive Guide
Understanding Guitar Pickups: Types and Features
Guitar pickups are essential components that convert string vibrations into electrical signals, allowing you to amplify your sound. There are two main types of pickups: single-coil and humbucker. Single-coil pickups are known for their bright, crisp tone, while humbuckers offer a thicker, warmer sound by canceling out unwanted noise.
The beautiful thing about learning is that no one can take it away from you.
When choosing pickups, consider factors like magnet type, wire gauge, and output level, as these will all affect your guitar's tone. For example, Alnico magnets tend to produce a vintage sound, while ceramic magnets can provide a more modern, aggressive tone. It’s essential to match the pickups with your playing style and musical genre.
Before diving into the installation process, familiarize yourself with the specific features of the pickups you’ve chosen. Each pickup can bring a unique flavor to your guitar, and understanding their characteristics can help you make the most of your new setup.
Gathering Tools and Materials for Installation
To get started with installing your new pickups, you’ll need a few essential tools. Typically, a screwdriver, wire cutters, and soldering iron are the basics. Additionally, having a multimeter can help you test the pickups and ensure they function correctly before and after installation.
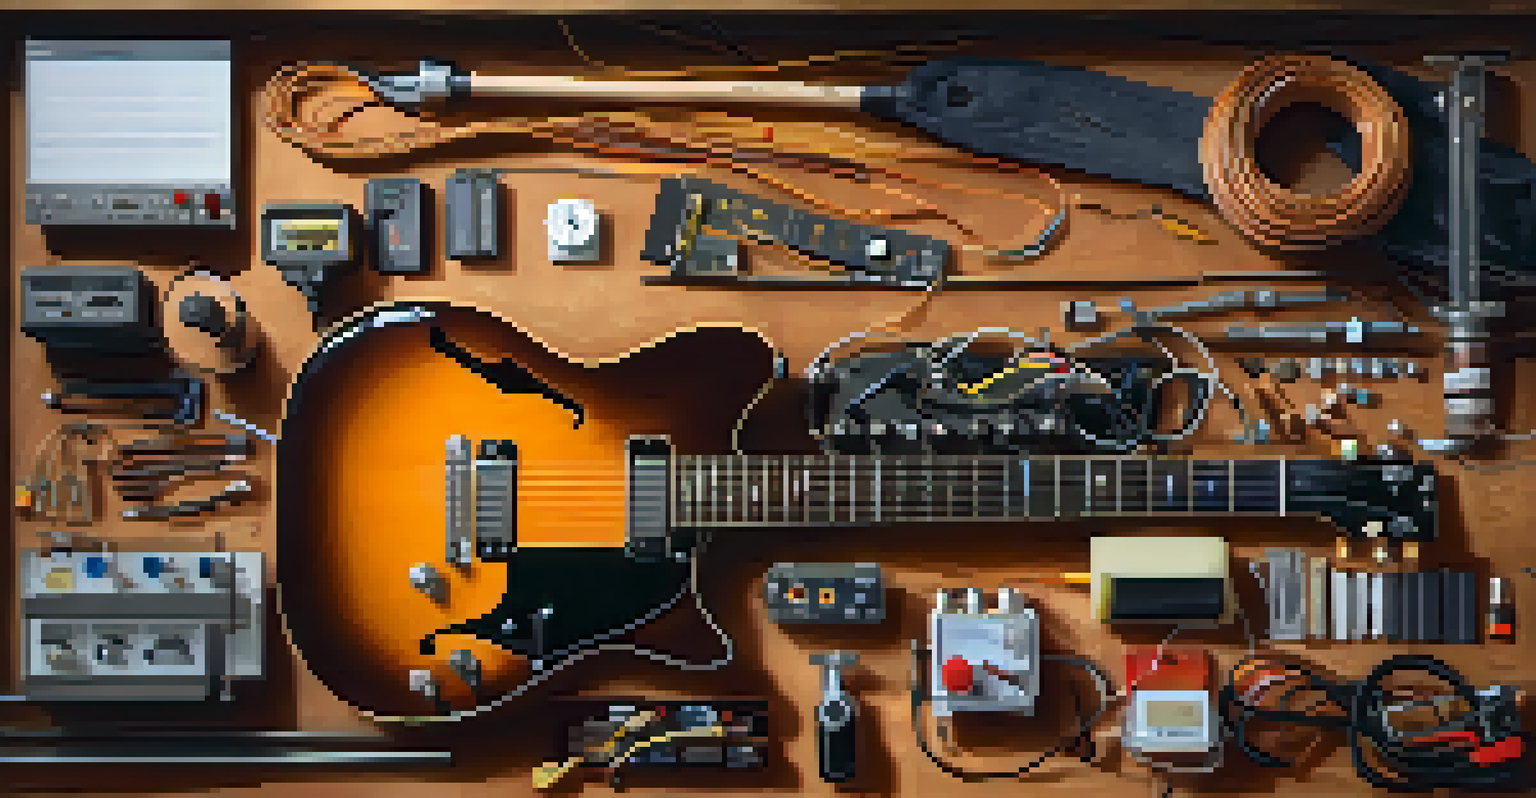
Don't forget to gather your new pickups, solder, and a good workspace. A clean, well-lit area is crucial for this task, as it allows you to focus and minimizes the risk of losing small parts. It's also wise to have a guitar strap handy to support the instrument during the process.
Types of Guitar Pickups Explained
Understanding the differences between single-coil and humbucker pickups is key to achieving your desired sound.
Lastly, consider wearing safety goggles when soldering to protect your eyes from any accidental splashes of molten solder. Preparing your workspace and gathering all necessary tools in advance will make the installation process smoother and more enjoyable.
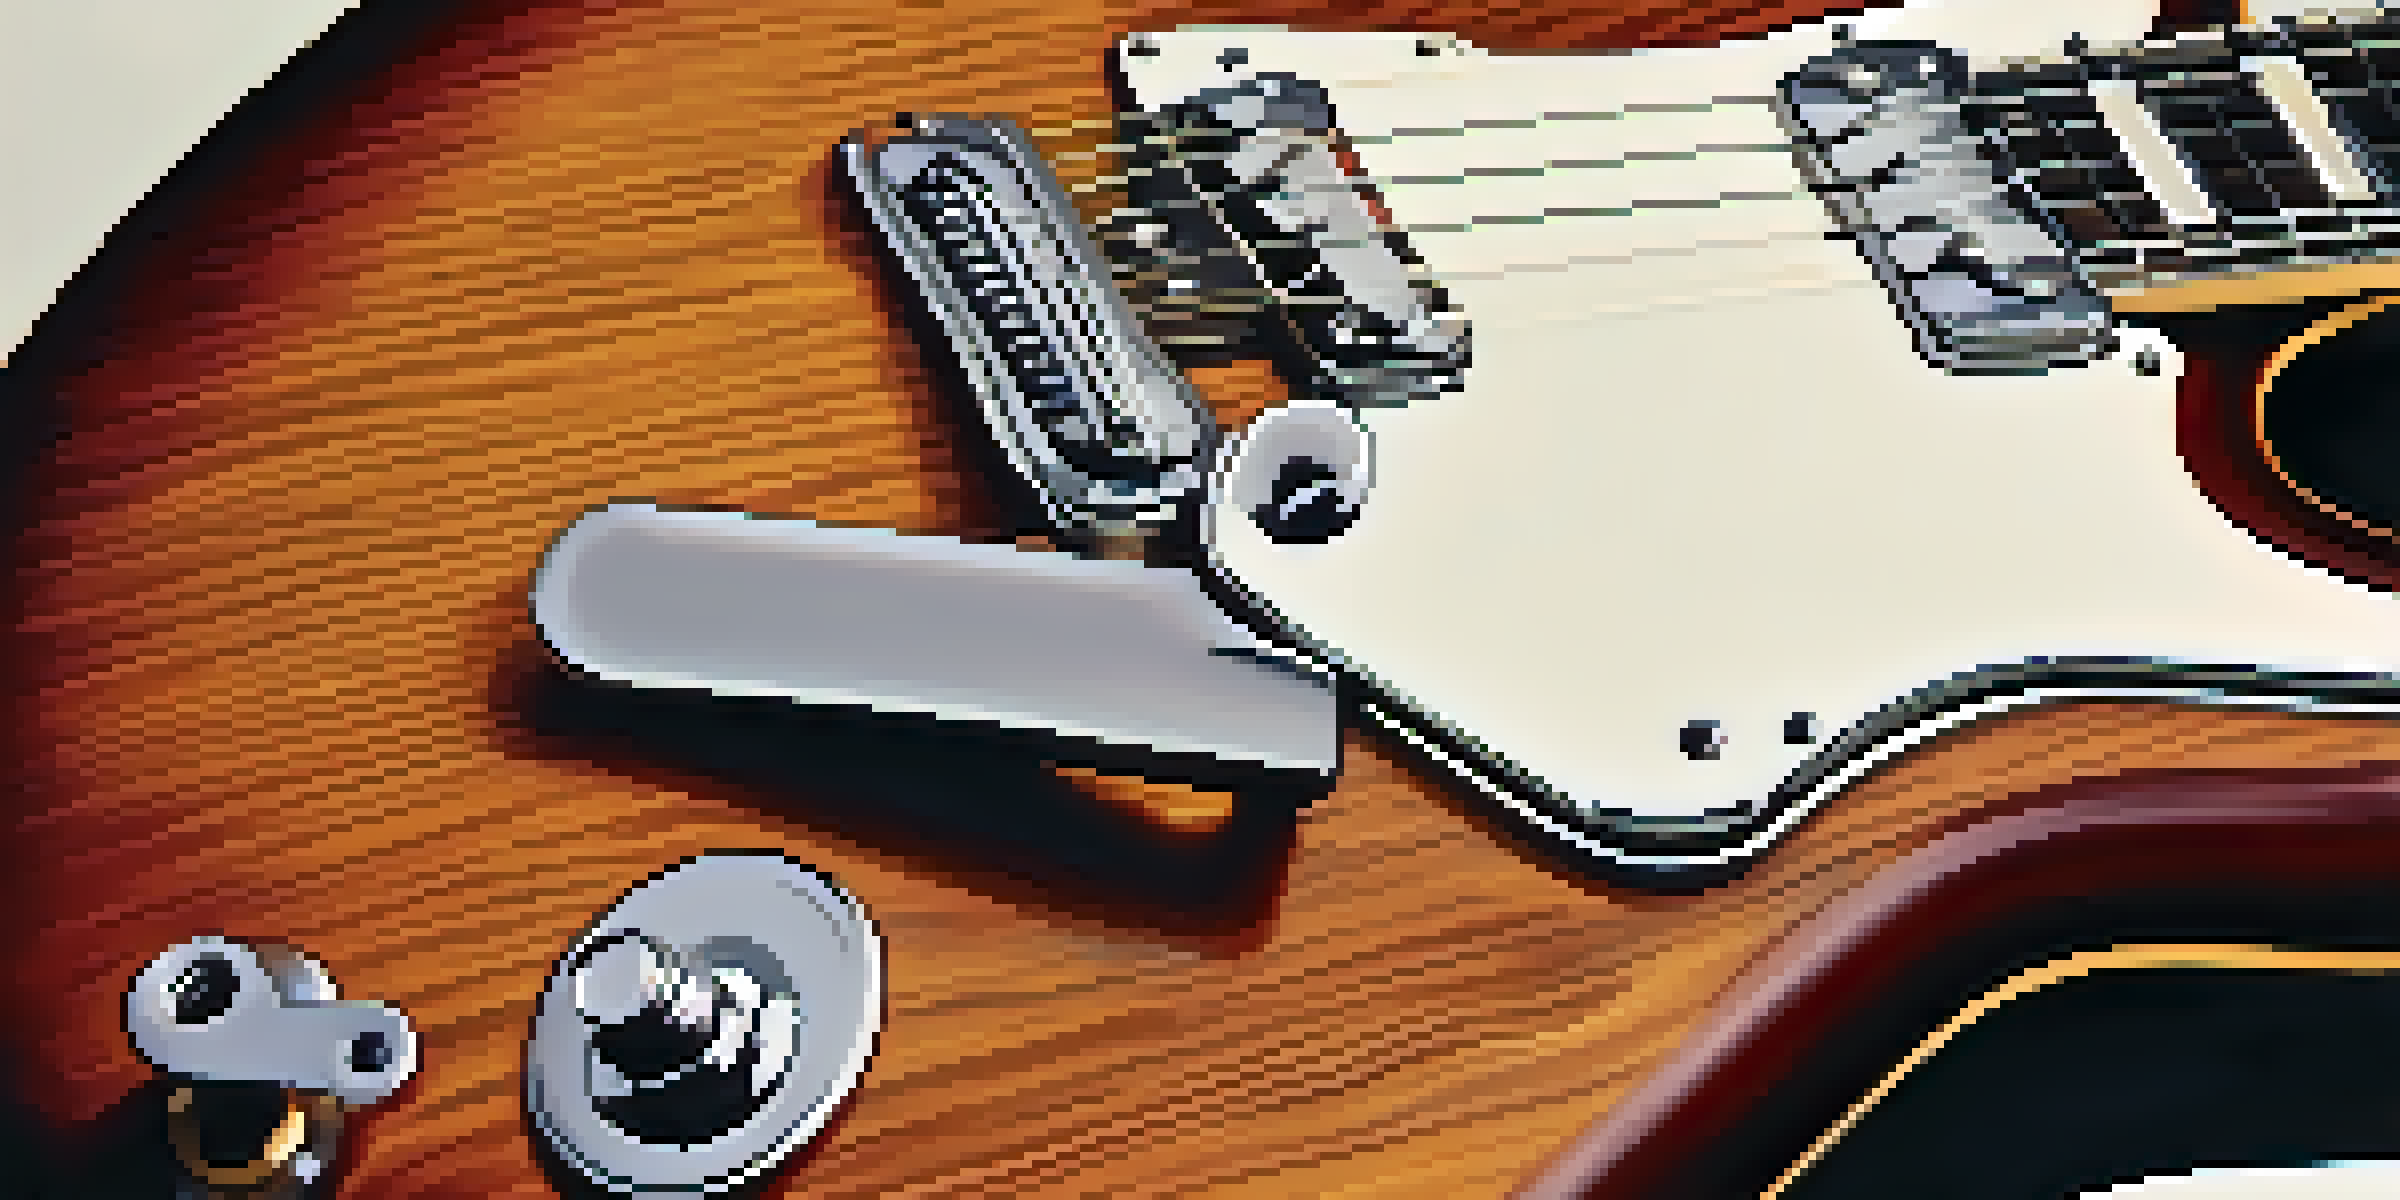
Preparing Your Guitar for Pickup Installation
Before you start the installation, it’s crucial to prepare your guitar properly. Begin by removing the strings to gain easy access to the pickups. This step not only gives you a clear view, but it also prevents any accidental damage to the strings during the process.
Music is the shorthand of emotion.
Next, take off the pickguard or control cover, depending on your guitar model. This will expose the wiring and pickups, allowing you to see what you’re working with. If you’re unsure about how to remove these parts, consult your guitar's manual or look for online tutorials specific to your model.
Taking the time to prepare your guitar carefully will save you headaches later on. A well-prepared workspace sets the stage for a successful pickup installation, ensuring you have everything you need at your fingertips.
Removing Old Pickups: Step-by-Step Instructions
Once your guitar is prepared, it’s time to remove the old pickups. Start by locating the screws that hold them in place, usually found at the base of each pickup. Carefully unscrew them and gently lift the pickups out, taking care to avoid damaging any surrounding components.
Next, you’ll need to unsolder the wires connected to the old pickups. This step requires some patience; use your soldering iron to heat the solder and gently pull the wire away once it melts. Make sure to note where each wire connects, as you’ll need to replicate this setup with your new pickups.
Essential Tools for Installation
Gathering the right tools, such as a soldering iron and multimeter, is crucial for a successful pickup installation.
As you remove the old pickups, take a moment to inspect the wiring and components for any signs of wear or damage. This inspection will help you determine if any additional repairs are needed before installing the new pickups.
Installing New Pickups: Connecting Wires and Soldering
Now comes the exciting part: installing your new pickups! Begin by positioning the new pickups in the same location as the old ones, ensuring they are secure. Use the screws provided with your new pickups to fasten them in place, making sure they are aligned correctly for optimal sound.
Next, it’s time to connect the wires. Refer to the notes you took during the removal process to ensure each wire connects to the correct terminal on the new pickups. Carefully solder the wires, taking care not to apply too much heat, which can damage the components.
Once everything is soldered, it’s a good idea to double-check your connections with a multimeter. This step ensures that the pickups are working correctly before you put everything back together. It’s a small but crucial step to avoid any surprises when you plug in your guitar.
Testing Your New Pickups: Ensuring Quality Sound
With the new pickups installed, it’s time to test them out! First, re-string your guitar and plug it into an amplifier. Play a few chords and notes to see how the new pickups sound. Take your time here; listen closely to the tonal differences and how they compare to your old pickups.
If you're not satisfied with the sound, don’t panic. Sometimes a slight adjustment in pickup height can make a world of difference. Use a ruler to measure the distance from the pickups to the strings while pressing down on the last fret, and adjust accordingly for balanced output.
Testing and Adjusting New Pickups
Properly testing your new pickups and making adjustments can significantly enhance your guitar's sound quality.
Testing your pickups is an exciting part of the installation process. It not only confirms your hard work but also allows you to appreciate the new sound they bring to your guitar.
Final Adjustments and Reassembly: Completing the Process
After testing, you might find that a few final adjustments are necessary. This could involve tweaking the pickup height or adjusting the tone and volume pots to suit your preferences. Don’t hesitate to experiment; finding the perfect sound is often a process of trial and error.
Once you’re satisfied with the sound, it’s time to reassemble your guitar. Carefully replace the pickguard or control cover, ensuring all screws are tightened securely. This step is crucial to keep everything in place and maintain the integrity of your guitar’s structure.

Finally, step back and admire your handiwork! Installing new pickups is a rewarding experience that can dramatically enhance your guitar’s sound and playability. Enjoy your freshly upgraded instrument and the new sonic possibilities it offers.