How to Make a Guitar Effects Pedal: Beginner's Guide
Understanding Guitar Effects Pedals and Their Purpose
Guitar effects pedals are essential tools that shape your sound, adding depth and character to your music. They can create a range of effects, from distortion and reverb to delay and modulation. Each type of pedal alters your guitar’s signal differently, allowing you to express your unique musical style.
The beautiful thing about learning is that no one can take it away from you.
For beginners, grasping the basic types of effects can help you decide which pedal to build first. Think of it like choosing your favorite spice; each adds its own flavor to your musical dish. This foundational understanding will guide you through the construction process and inspire your creativity.
As you dive into the world of effects pedals, remember that experimentation is key. Many musicians find joy in combining different effects to create a signature sound. So, whether you're into grunge, jazz, or rock, there's an effects pedal out there just waiting to be crafted by your hands.
Gathering the Essential Tools and Materials
Before you start building your effects pedal, you'll need to gather the right tools and materials. Essential items include a soldering iron, wire cutters, and a multimeter, along with specific electronic components like resistors, capacitors, and transistors. Think of this step as gathering your ingredients before cooking a meal; having everything at hand makes the process smoother.
You can purchase these components from local electronics stores or online retailers. Many websites offer pedal kits that contain all the necessary parts and even instructions, making it easier for beginners. It's like having a recipe laid out for you—just follow the steps, and you'll be on your way.
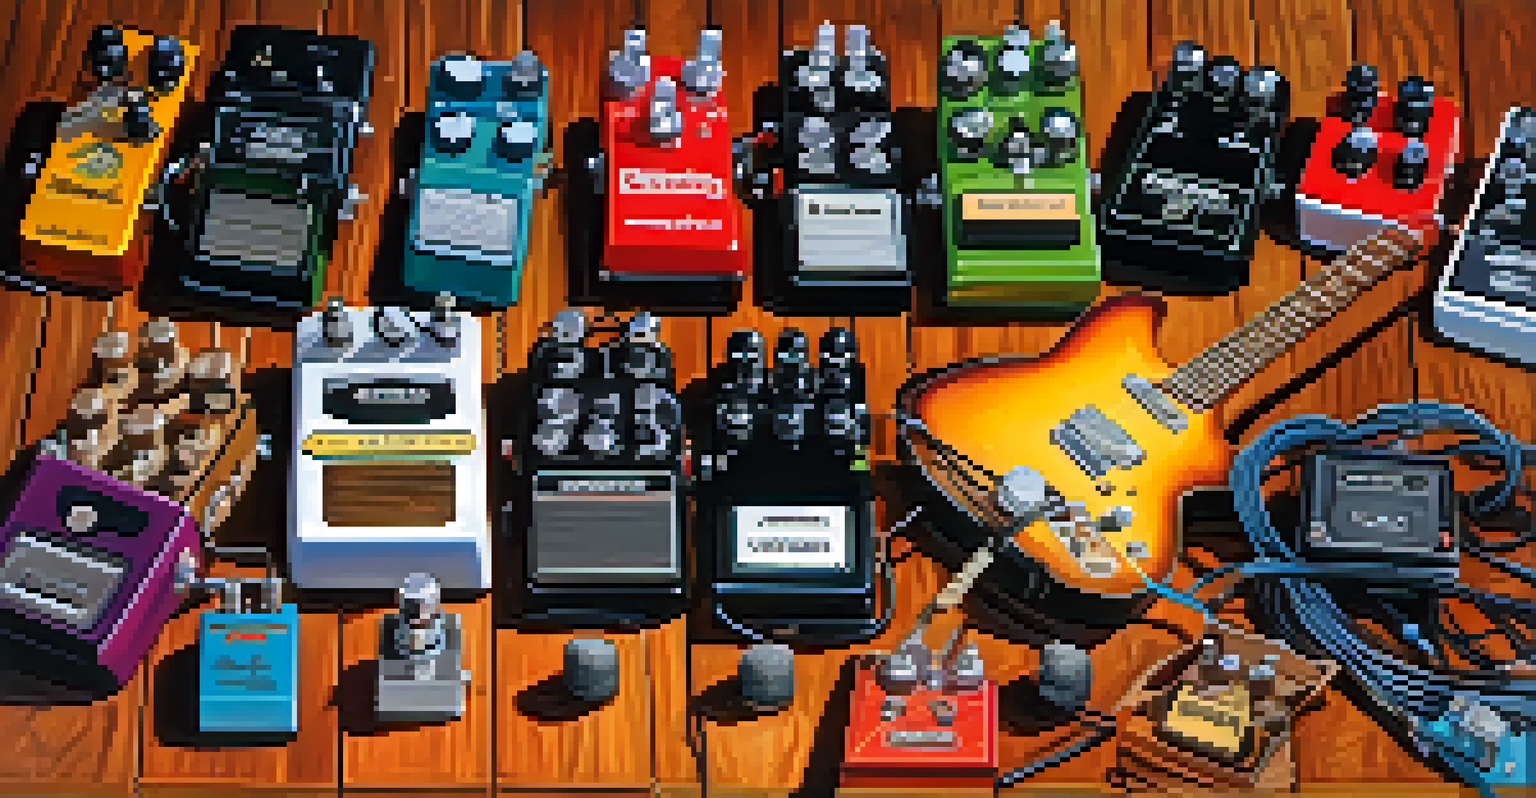
Choosing the Right Effects Pedal
Understanding different types of guitar effects pedals helps you select the best one to start your musical journey.
Don't forget to also grab a sturdy enclosure to house your pedal. This not only protects the internal components but also adds a personal touch. You can customize the design to reflect your style, which makes your pedal not just a tool, but a piece of art.
Choosing Your First Guitar Effects Pedal Circuit
Selecting a simple circuit is crucial for your first pedal project. A popular choice for beginners is the overdrive pedal, known for its warm, smooth distortion. This circuit can teach you essential soldering techniques and help you understand how components interact within a pedal.
Creativity is intelligence having fun.
Another great option is a fuzz pedal, which produces a more aggressive sound, perfect for rock enthusiasts. Both circuits have plenty of resources and tutorials available online, making them accessible and manageable for first-timers. Think of it as choosing between a classic dish and an experimental one; both have their merits.
As you gain confidence in building, you can explore more complex circuits like delay or modulation effects. Each new project will enhance your skills and deepen your understanding of sound design. Remember, the journey of learning is just as rewarding as the final product.
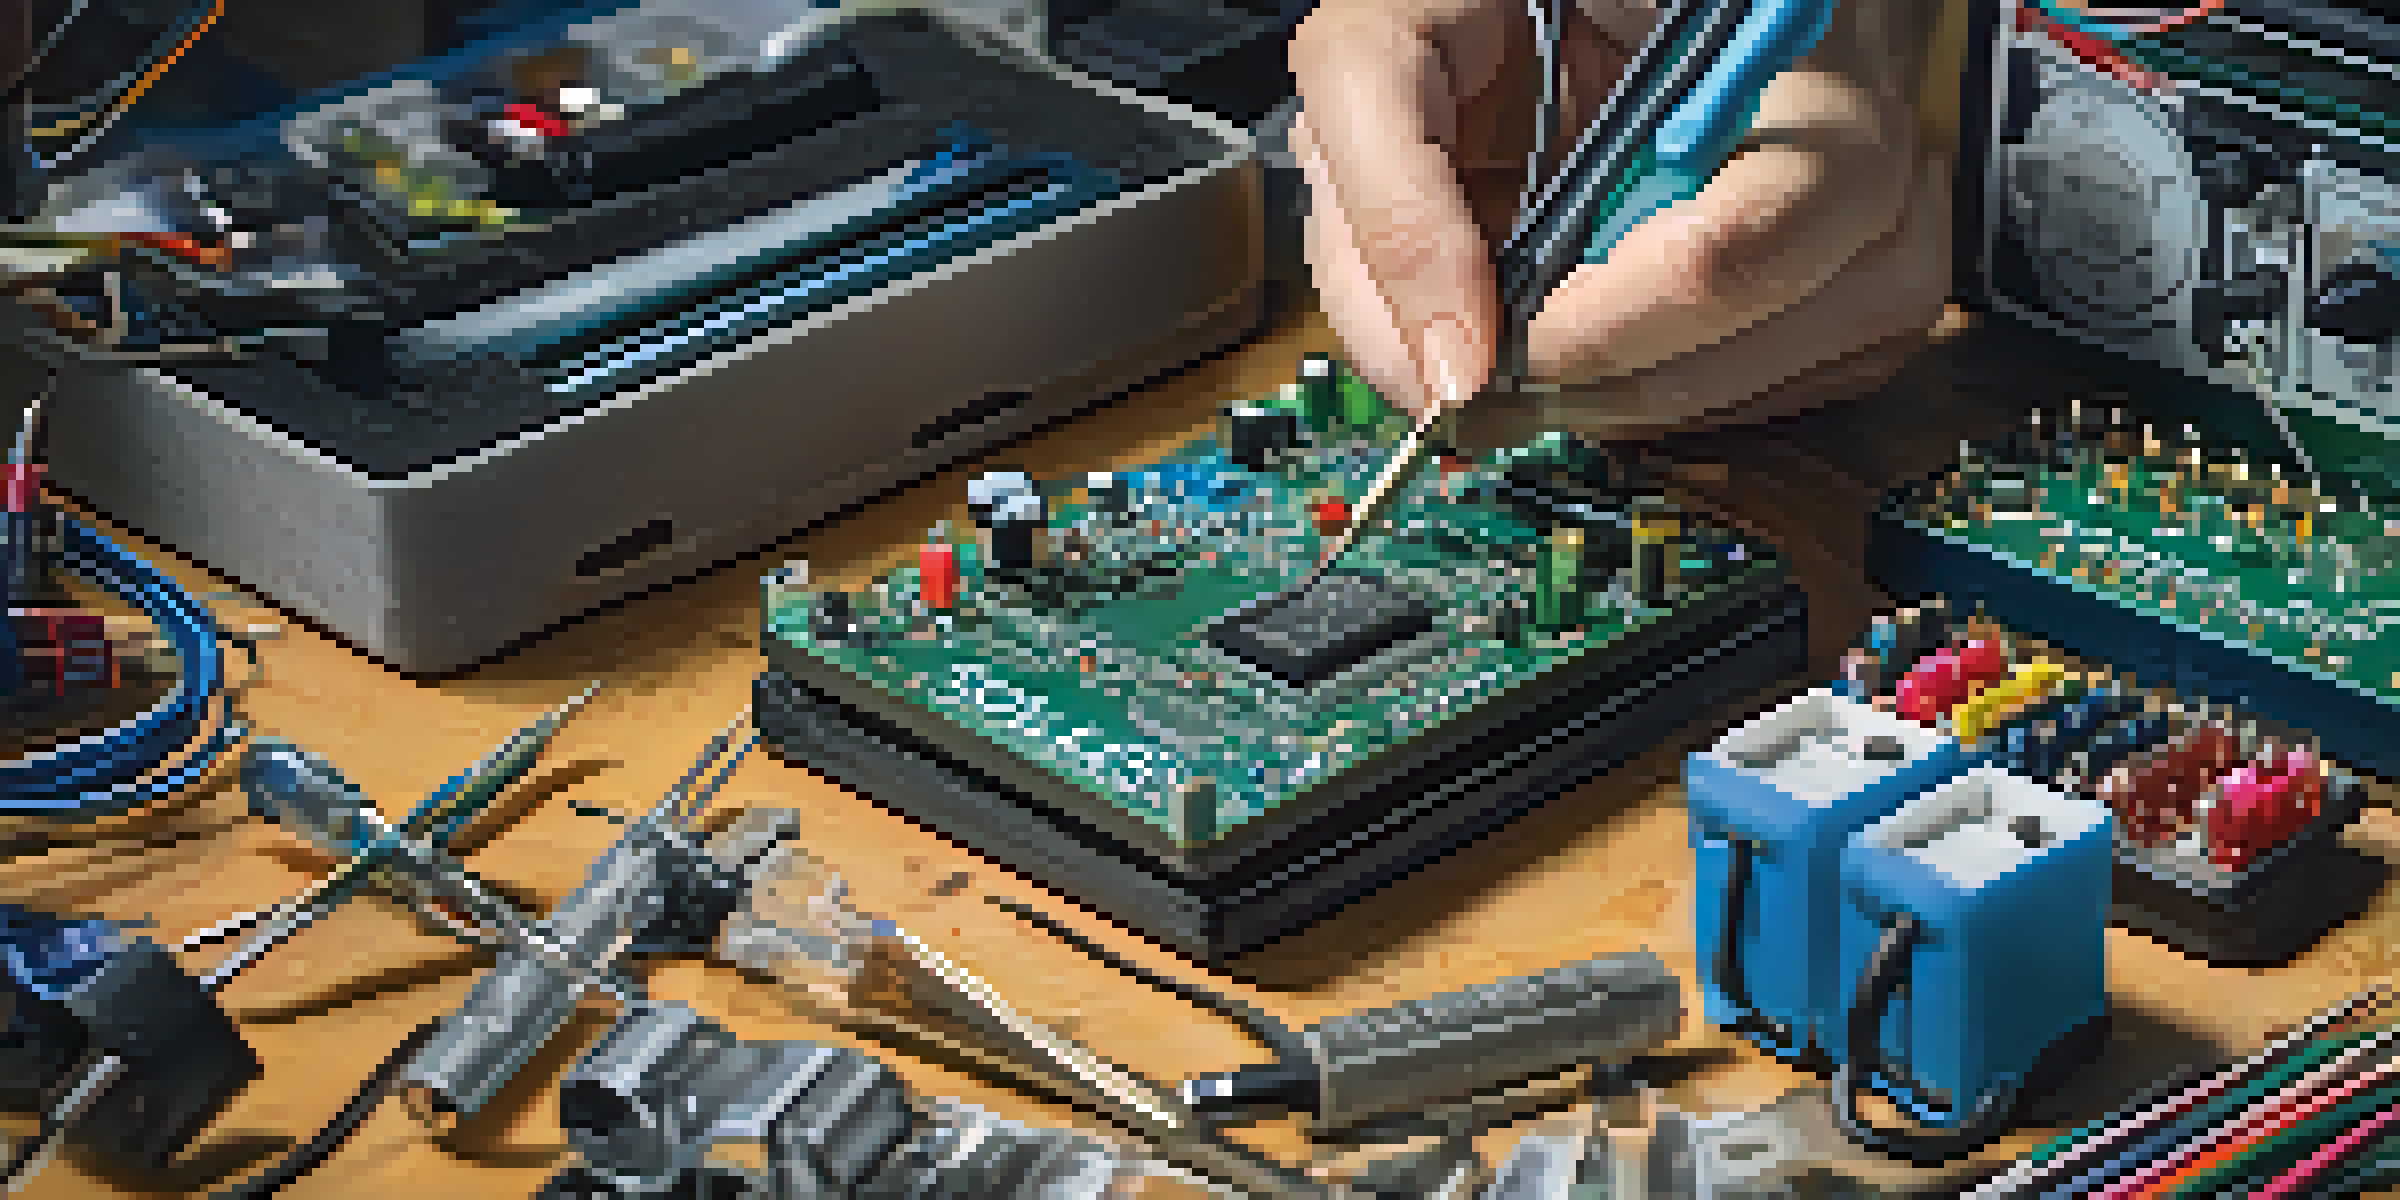
Learning Basic Soldering Techniques for Beginners
Soldering is a critical skill for building effects pedals, as it connects components on the circuit board. Begin by familiarizing yourself with the soldering iron and practice on some spare wires. It's like learning to ride a bike; at first, it might feel awkward, but with practice, you'll gain confidence and precision.
When soldering, ensure you have a clean workspace and use safety precautions, such as wearing eye protection. A steady hand and patience are essential for creating strong connections. Take your time and double-check your work, as a loose connection can lead to frustrating issues later on.
Essential Tools for Building Pedals
Gathering the necessary tools and materials is crucial for successfully building your own effects pedal.
As you hone your soldering skills, you'll appreciate the craftsmanship behind each pedal you create. It’s a satisfying feeling to know that you built something from scratch, and every solder joint tells a story of your learning journey. Keep practicing, and soon, you'll be soldering like a pro!
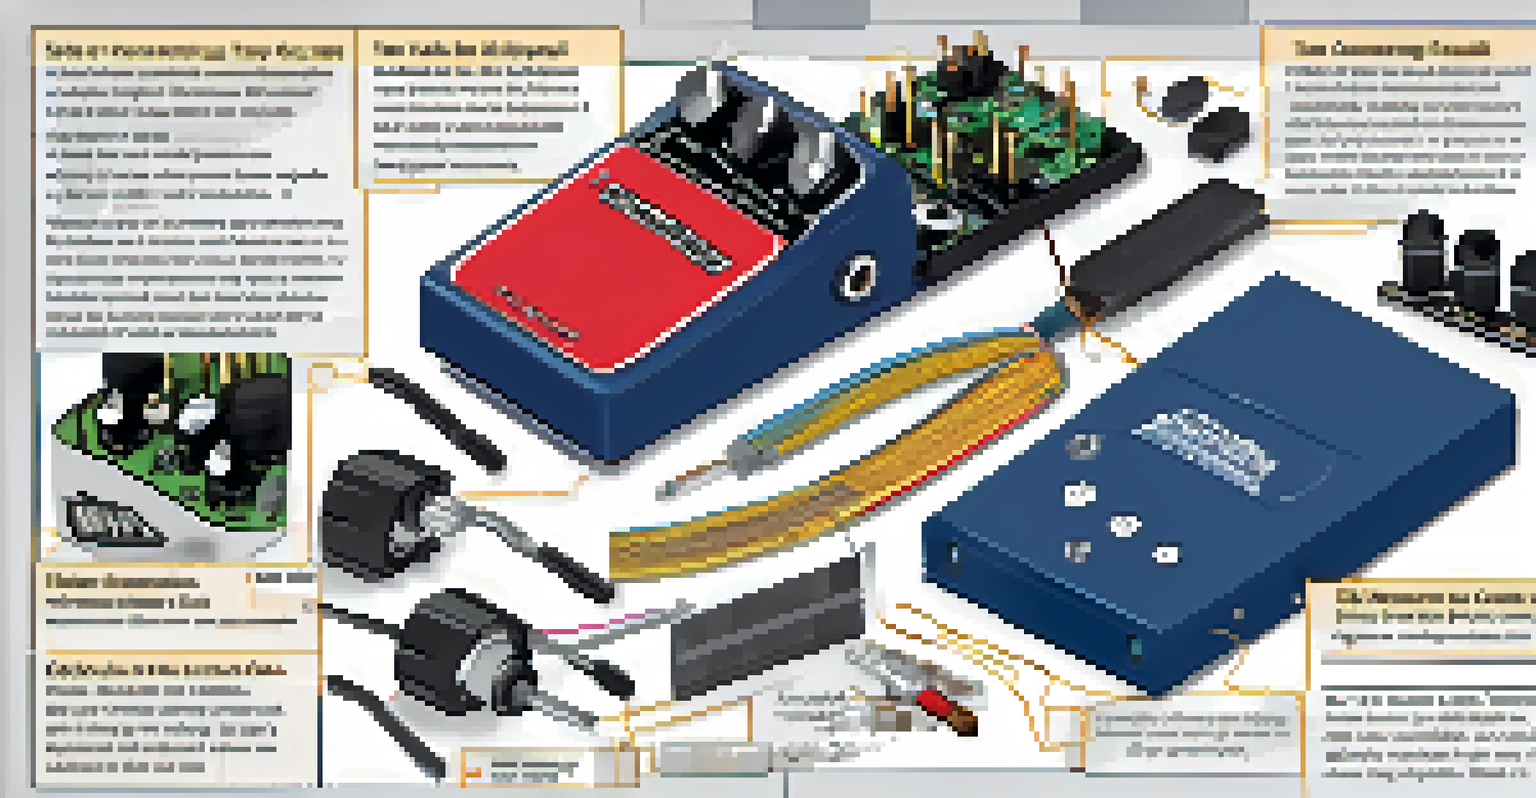
Assembling Your Effects Pedal Step by Step
Once you've mastered soldering, it's time to assemble your pedal. Start by laying out the components on the circuit board according to your schematic. This step is like assembling a puzzle; fitting the pieces together correctly is crucial for the pedal to function properly.
After placing the components, solder them in place, following the layout carefully. As you work, refer to your schematic frequently to avoid mistakes. It can be helpful to check off each component as you go, ensuring nothing is left out, much like checking items off a grocery list.
Once everything is soldered, it's time to connect the circuit to the enclosure. Carefully secure the circuit board inside the housing, making sure that all wires are neatly arranged. This final step will ensure your pedal not only sounds great but looks professional too!
Testing Your Completed Guitar Effects Pedal
With your pedal assembled, it’s time for the exciting part—testing it out! Connect your pedal to your guitar and amplifier, making sure everything is powered properly. This moment is like unveiling a masterpiece; the anticipation builds as you flip the switch.
Play some chords or riffs to hear how your new effects pedal transforms your sound. Take notes on what you like and what could be improved. If something doesn’t work as expected, don’t be discouraged; troubleshooting is a valuable part of the learning process.
Customizing Your Unique Sound
Experimenting with modifications allows you to personalize your effects pedal and discover new tones.
Testing your pedal not only shows you the fruits of your labor but also opens the door for future modifications. You might find that you want to tweak certain components or even add new features. This iterative process is what makes creating your own effects pedals so rewarding.
Customizing and Modifying Your Effects Pedal
Once you’ve tested your pedal, you can start thinking about customization and modifications. Whether it's changing the enclosure color or adding extra controls, personalizing your pedal makes it truly yours. This is similar to decorating a room; adding personal touches makes it feel more comfortable and inviting.
You can also experiment with different components to achieve unique sounds. Swapping out a resistor here or a capacitor there can drastically change how your pedal reacts. This kind of experimentation can lead to discovering new tones and effects that set your sound apart.
As you continue to modify your pedal, you'll gain insights into how different components interact. This hands-on experience will deepen your understanding of sound design and inspire you to create even more complex effects in the future. Your creativity is the only limit!