DIY Guitar Setup: Tune, Adjust, and Optimize Your Instrument
Understanding the Importance of Guitar Setup
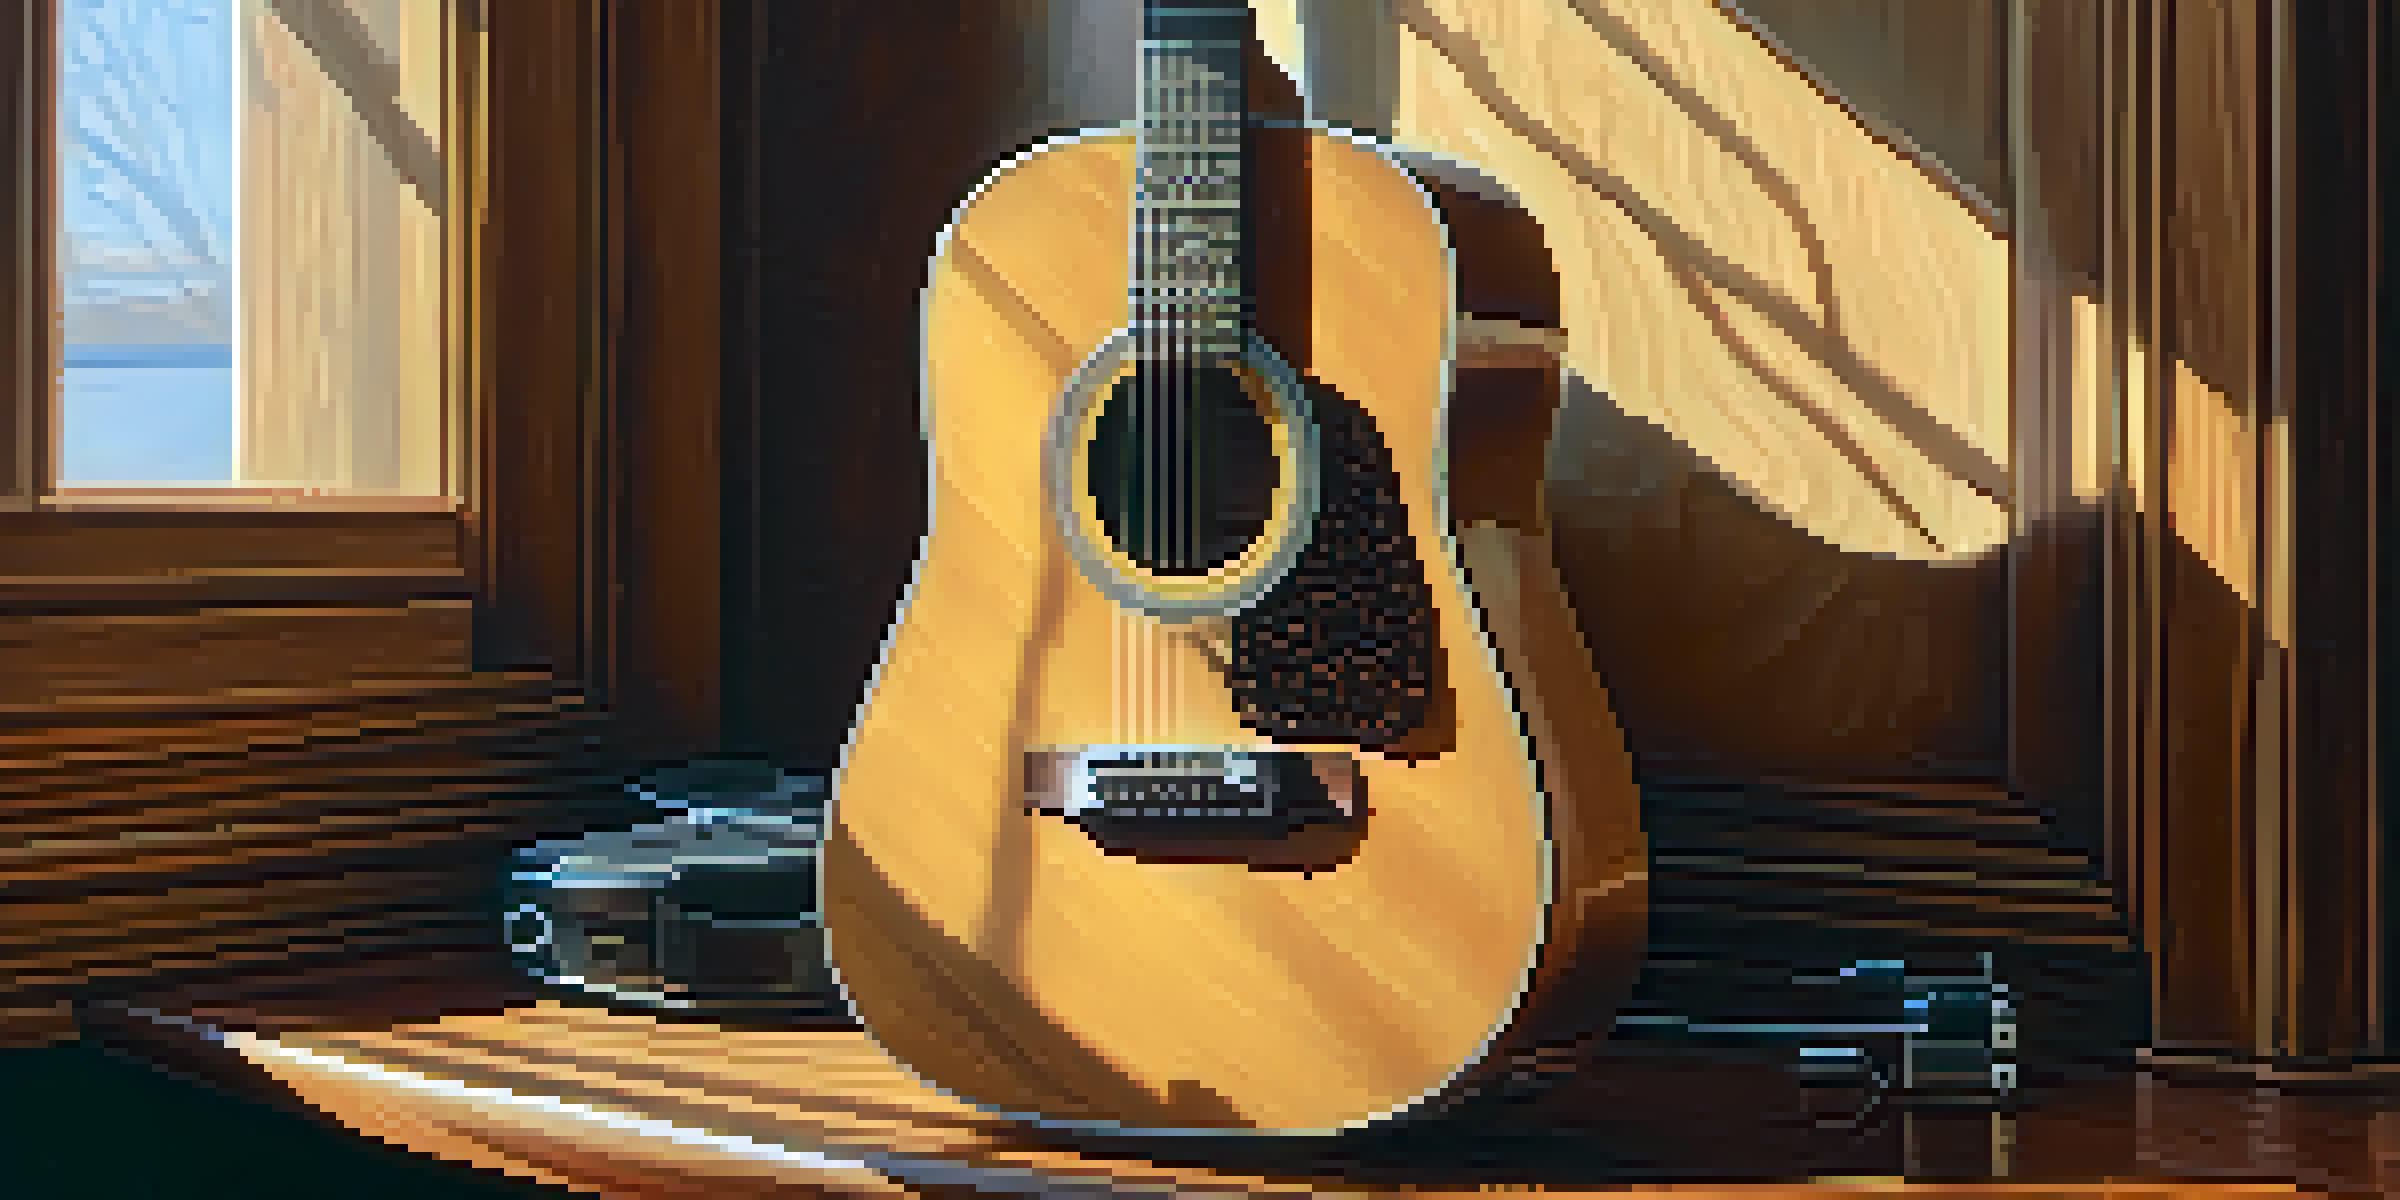
A well-set-up guitar can make all the difference in your playing experience. Just like a car needs regular maintenance, your guitar requires adjustments to ensure it sounds its best. By understanding the importance of setup, you can unlock your instrument's full potential and enjoy a more satisfying musical journey.
A guitar is like a woman; you can’t just pick her up and play. You have to know how to treat her right.
Think of your guitar setup as the foundation of a house. Without a solid base, everything else can crumble. Similarly, if your guitar is out of tune or poorly adjusted, even the most talented player may struggle to achieve their desired sound. Investing time in a good setup can save you frustration and elevate your performance.
Moreover, a proper setup can enhance your guitar's playability, making it easier to express yourself. Whether you're a beginner or a seasoned musician, knowing how to fine-tune your instrument can lead to greater confidence in your playing. So, let’s dive into the essentials of DIY guitar setup!
Gathering Your Essential Tools for Setup
Before you start tweaking your guitar, it's crucial to gather the right tools. A basic toolkit for a DIY guitar setup typically includes a tuner, string winder, screwdriver, Allen wrenches, and a ruler for measuring string height. Having these items on hand will make the process smoother and more efficient.
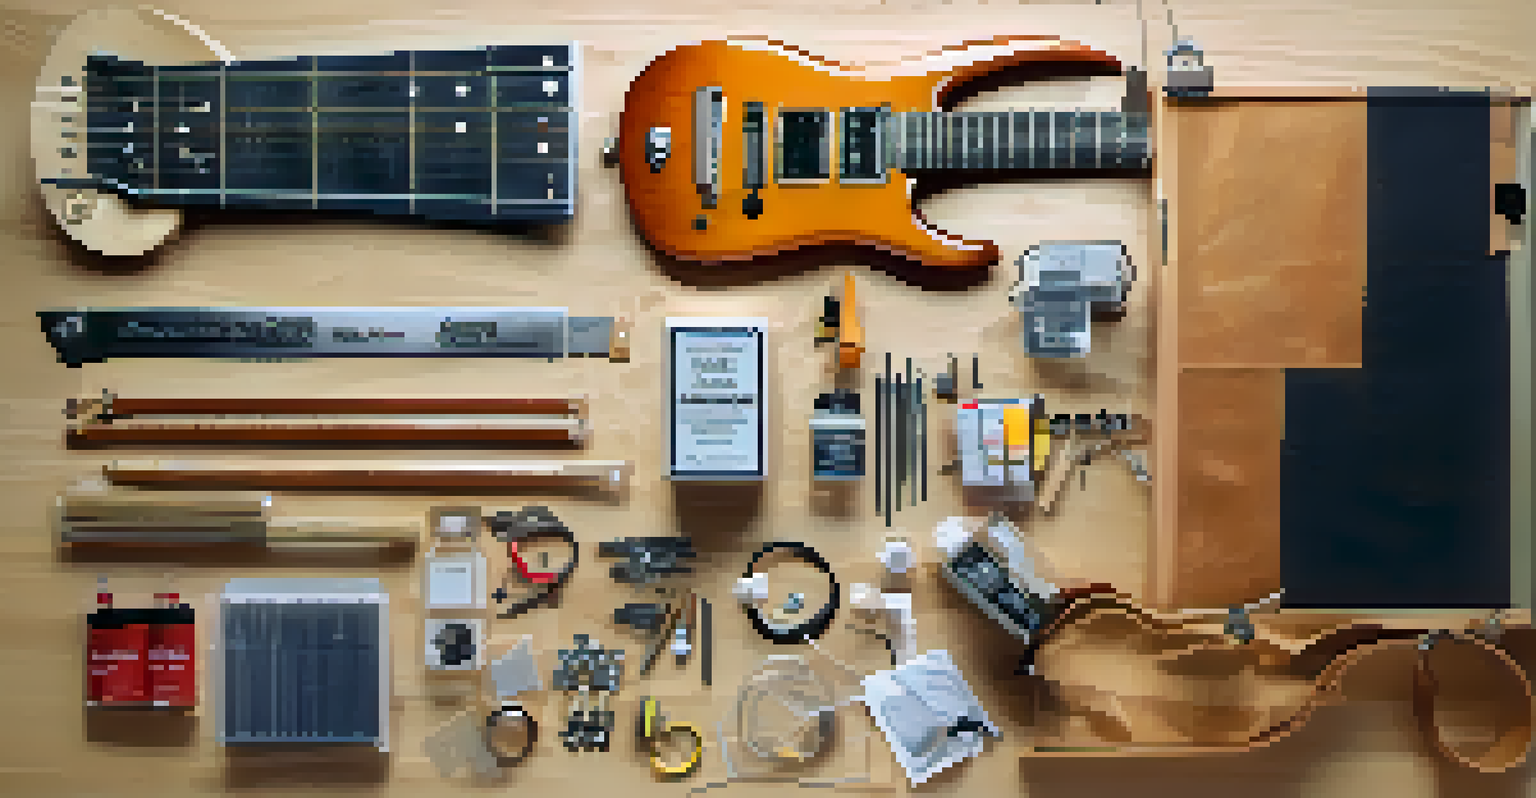
Imagine tackling a home improvement project without the necessary tools; it would be frustrating, right? The same goes for guitar setup. By being prepared, you can avoid interruptions and focus on getting your instrument just right. Consider investing in a quality guitar maintenance kit to keep everything organized.
Importance of Guitar Setup
A well-set-up guitar enhances playability and sound quality, making it essential for all musicians.
Additionally, don’t forget to have a comfortable workspace. A clean, well-lit area where you can sit and work on your guitar will help you stay focused and avoid any mishaps. With your tools ready and your space set, you’re primed to start the setup process!
Step 1: Tuning Your Guitar for Perfect Pitch
The first step in any guitar setup is ensuring it’s in tune. Tuning your guitar might seem basic, but it’s fundamental to achieving the best sound. You can use an electronic tuner, a tuning app, or even your ear if you’re confident in pitch recognition.
The more you practice, the luckier you get.
Think of tuning as the warm-up before a big game. Just as athletes need to prepare their bodies, your guitar needs to be in the right key to perform at its best. Spend a few moments tuning each string, and don’t forget to check it again after playing for a while since strings can stretch and go out of tune.
Once your guitar is in tune, you’ll notice a significant improvement in sound quality. Playing a perfectly tuned guitar is not only more enjoyable but also helps you develop better listening skills. So take the time to tune your instrument well; it’s the first step towards optimal performance!
Step 2: Adjusting the Truss Rod for Neck Relief
Next up is adjusting the truss rod, which controls the neck's curvature. A properly adjusted truss rod allows for optimal string height and playability. If your strings are buzzing or if the action feels too high, you might need to tweak the truss rod to achieve the right amount of neck relief.
Think of the truss rod as a tension wire that keeps your guitar’s neck straight. By adjusting it, you can either add or reduce relief, depending on your playing style. If you prefer lower action for faster playing, a slight adjustment can work wonders, but be careful not to overdo it, as too much adjustment can lead to other issues.
Essential Tools for Setup
Gathering the right tools, like a tuner and string winder, is crucial for an efficient DIY guitar setup.
To check the neck relief, press down on the first and last frets of a string and look for a gap at the 8th fret. A small gap is ideal, as it indicates that the neck has the right curvature. If adjustments are needed, use the appropriate tool to make small turns on the truss rod, and always check as you go.
Step 3: Setting the Action for Comfort and Playability
Action refers to the height of the strings above the fretboard, and setting it correctly is vital for comfortable playability. If the action is too high, it can make playing difficult and tiring, while too low can cause buzzing. Finding the sweet spot can significantly enhance your playing experience.
Consider action height as the distance between you and your guitar. If it’s too far away, you’ll struggle to reach the notes; if it’s too close, you might hit some unwanted frets. Adjusting the action usually involves raising or lowering the bridge saddles or adjusting the nut height—both of which can be done with simple tools.
Start with a measurement that feels comfortable for you and adjust based on your playing style. For instance, if you play hard rock and require heavy strumming, a slightly higher action may be beneficial. On the other hand, if you’re into fingerstyle, lower action can help you navigate the strings more easily.
Step 4: Intonating Your Guitar for Accurate Pitch
Intonation is about ensuring that your guitar is in tune across the entire fretboard. Even if your guitar is perfectly tuned at the open position, it can still be out of tune higher up the neck. This is where intonation comes in, helping to ensure that each note you play sounds correct.
Imagine playing a song and noticing that the higher notes sound off compared to the lower ones; that’s a sign your intonation might need adjustment. To check intonation, play the 12th fret harmonic and compare it to the fretted note. If they don’t match, you’ll need to adjust the saddles on your bridge.
Regular String Changes Matter
Changing strings regularly refreshes your guitar's sound and maintains optimal performance.
Adjusting intonation may seem daunting, but with a little patience, you can achieve perfect pitch across your guitar. Each string will need to be checked and adjusted individually, so take your time. Once completed, you'll enjoy a more harmonious sound, allowing you to focus on your music rather than worrying about tuning issues.
Step 5: Changing Strings for Optimal Sound Quality
A vital part of any guitar setup is changing the strings regularly. Old strings can sound dull and lifeless, so fresh strings can bring your guitar back to life. Depending on how often you play, changing your strings every few weeks or months can make a noticeable difference in sound quality.
Think of strings as the lifeblood of your guitar's sound. Just like a musician needs to stay hydrated, your guitar needs fresh strings to express its full potential. When changing strings, it's a great opportunity to clean the fretboard and body as well, which can further enhance your instrument’s performance.

When choosing strings, consider your playing style and preferences. From lighter gauge strings for easier bending to heavier gauges for a fuller sound, the type of strings you select can drastically influence your overall tone. Experimenting with different brands and materials can also lead to discovering your perfect sound.
Final Touches: Polishing and Maintaining Your Guitar
After making all the necessary adjustments, it's time to give your guitar some love. Polishing your instrument not only improves its appearance but also protects the finish from dust and grime. A clean guitar can inspire you to play more often, as it looks and feels great in your hands.
Consider this final touch as the icing on the cake. Just as a well-decorated dessert is more appealing, a clean guitar can elevate your overall experience. Use a quality guitar polish and a microfiber cloth to gently wipe down the body and neck, ensuring you don’t damage any of the components.
Lastly, regular maintenance is key. Make it a habit to check your setup every few months, especially if you notice any changes in playability or sound. By staying on top of these adjustments, you’ll ensure that your guitar remains in prime condition, ready to create beautiful music whenever inspiration strikes.