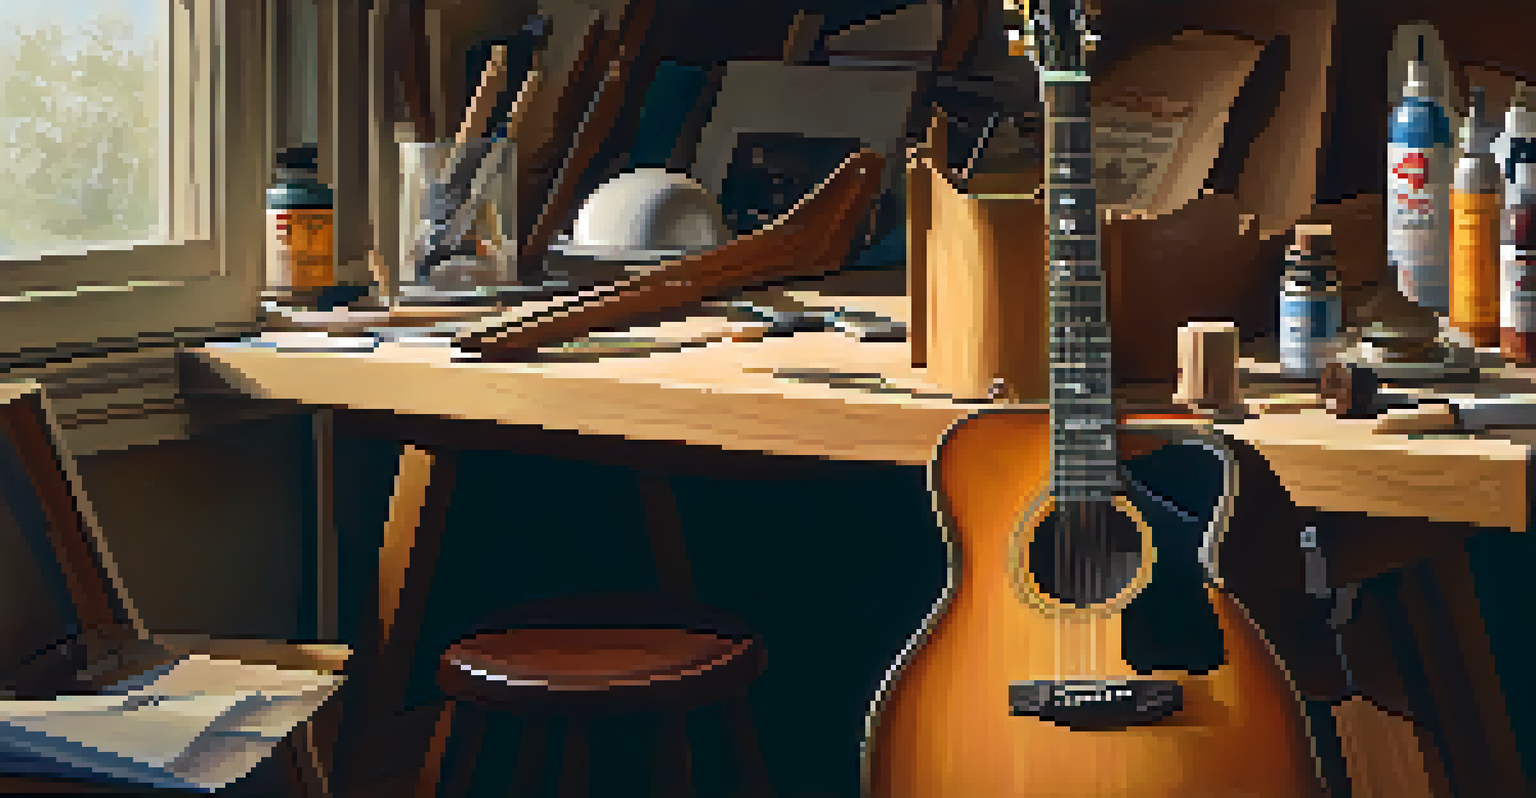
DIY Guitar Neck Repair: Fixing Dents and Cracks

Understanding Dents and Cracks in Guitar Necks
Guitar necks can suffer from a variety of wear and tear, particularly dents and cracks. These imperfections not only affect the aesthetic appeal of your instrument but can also impact playability. Understanding the causes of these damages is the first step towards effective repair. Whether it's a result of accidental drops or general usage, knowing what you're dealing with helps in choosing the right repair method.
The beautiful thing about learning is that no one can take it away from you.
Dents are typically surface-level damage, while cracks can extend deeper, possibly affecting the neck's stability. Different types of wood used in neck construction also play a role in how these damages manifest. For instance, a maple neck may respond differently to repairs than a mahogany one. Recognizing these differences will ensure you use the best approach for your specific guitar.
Before diving into repairs, take a moment to assess the severity of the damage. If the crack is extensive or the neck feels unstable, it might be worth consulting a professional. However, many minor dents and cracks can be successfully repaired at home with a little patience and the right tools.
Gathering Tools for Guitar Neck Repair
Before getting started, it's essential to gather all the necessary tools for your guitar neck repair project. Basic items include a soft cloth, wood glue, a small clamp, and a fine-grit sandpaper. For deeper cracks, additional tools like a chisel or a heat source may be needed. Having everything within reach simplifies the process and keeps you focused on the repair.
A soft cloth is particularly important for keeping your workspace clean and protecting your guitar's finish. Wood glue is your best friend when it comes to repairing cracks, as it provides a strong bond that can withstand the tension of the strings. Don't forget to have some paper towels on hand for any excess glue that may squeeze out during the repair process.
Understand Your Guitar Neck Damage
Recognizing the difference between dents and cracks is crucial for deciding on the right repair methods.
If you're unsure about the tools you need, many online tutorials and forums can provide guidance. Investing in a quality repair kit can also be beneficial, as it typically includes specialized tools designed for guitar maintenance. With the right tools at your disposal, you'll be well-prepared to tackle any dent or crack.
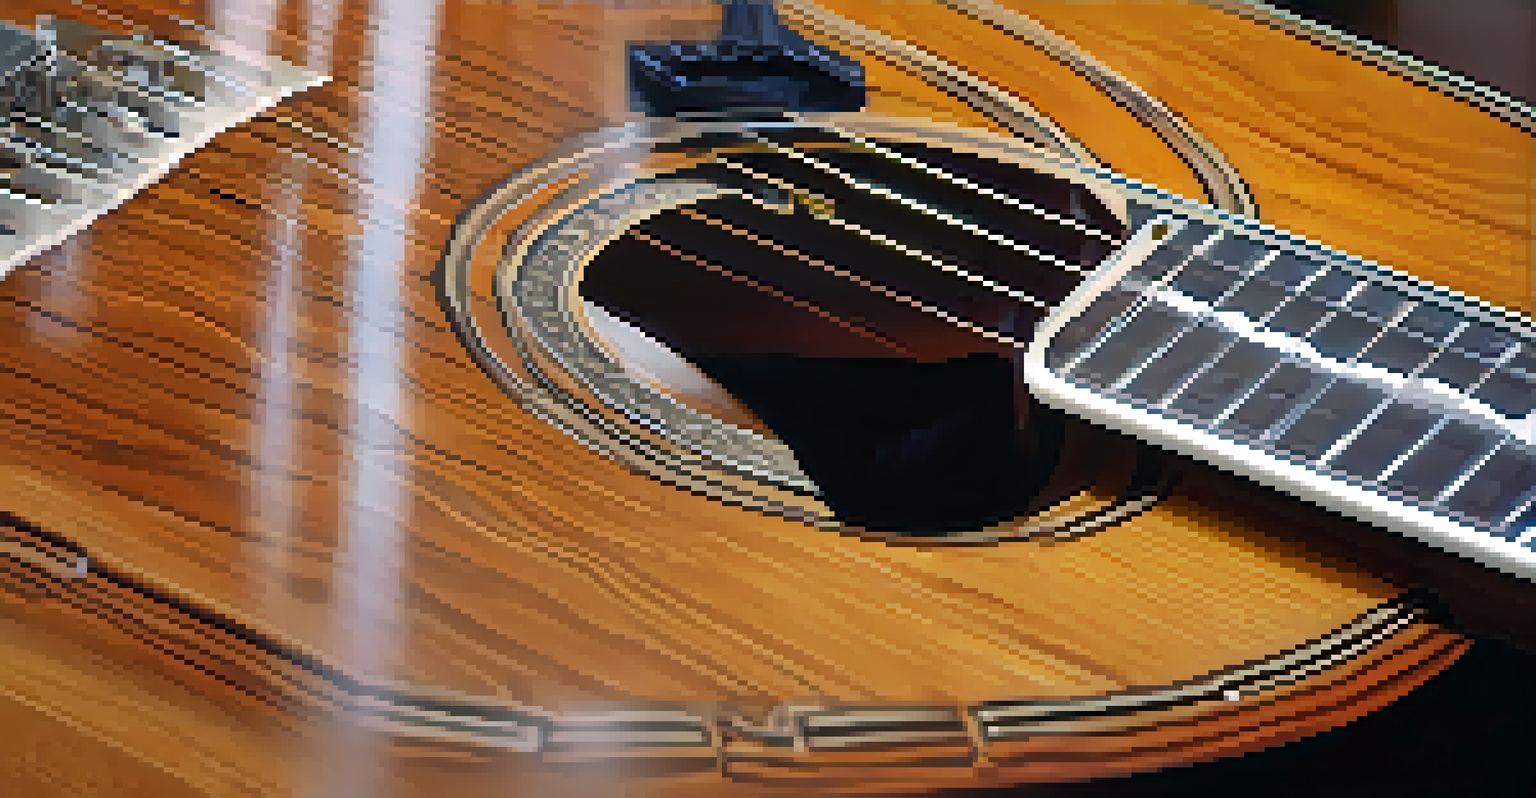
Repairing Dents: A Step-by-Step Guide
Repairing a dent in your guitar neck is a straightforward process that can yield satisfying results. Start by cleaning the area around the dent with a soft cloth to remove any dirt or oils. Next, you can use a damp cloth and an iron to apply heat; the steam will help the wood fibers swell back into shape. This method works best for shallow dents and can bring your neck back to its former glory.
Music is the shorthand of emotion.
If the dent is deeper, you might need to fill it with wood filler after cleaning. Choose a filler that matches the color of your neck for a seamless look. Once the filler is applied, allow it to dry completely before sanding it down to a level surface. Finish off by applying a bit of polish to restore the shine and protect the wood.
Remember, patience is key during this process. Rushing through repairs can lead to uneven surfaces or further damage. Take your time, and don’t hesitate to consult instructional videos online for visual guidance.
Fixing Cracks: Techniques to Restore Stability
Cracks in your guitar neck can be a bit more challenging than simple dents, but with the right approach, they can be effectively repaired. Begin by cleaning the crack with a soft cloth to remove any debris. If the crack is wide, gently pull the edges apart to allow for better glue penetration. This step is crucial for ensuring a strong bond once the glue is applied.
Apply a high-quality wood glue into the crack, making sure it fills the entire space. For larger cracks, you may wish to use a small clamp to hold the edges together while the glue dries. This ensures the two sides are firmly connected and reduces the risk of the crack reopening. Allow the glued area to cure fully, following the glue manufacturer's recommended drying time.
Gather Essential Repair Tools
Having the right tools, such as wood glue and sandpaper, is vital for effectively repairing guitar neck damages.
Once the glue has dried, inspect the area for any excess that may have squeezed out. Use a fine-grit sandpaper to smooth the surface, making it flush with the rest of the neck. If needed, you can also touch up the finish to match the surrounding area, keeping your guitar looking pristine.
Finishing Touches: Ensuring a Polished Look
After repairing dents and cracks, it’s time to focus on the finishing touches. A well-repaired guitar neck should not only feel good to play but also look great. Start by cleaning the entire neck to remove any dust or fingerprints that accumulated during the repair process. A clean surface will ensure that your finishing products adhere properly.
For wood necks, consider applying a light coat of oil or wax to rejuvenate the wood and enhance its natural beauty. This not only gives it a polished look but also provides a layer of protection against future wear. If you used wood filler, be sure to match the sheen with the rest of the neck for a consistent appearance.
Lastly, take a moment to play your guitar and feel the difference. A well-repaired neck can enhance your playing experience, making it a joy to pick up your instrument again. Celebrate your hard work and enjoy the satisfaction of having restored your guitar neck to its former glory.
Preventing Future Damage to Your Guitar Neck
Now that you’ve successfully repaired your guitar neck, let’s discuss how to prevent future damage. One of the best practices is to maintain a stable environment for your guitar. Extreme temperature and humidity changes can cause wood to expand or contract, leading to cracks and warping. Keep your guitar in a case when not in use, and consider using a humidifier in dry environments.
Additionally, be mindful of how you handle your guitar. Always use a strap when playing to reduce the chances of accidental drops. If you transport your guitar frequently, invest in a sturdy case that provides ample protection. You might also want to consider a soft cloth for wiping down your neck after playing to remove any oils or dirt that could contribute to wear.
Know When to Seek Professional Help
Consulting a luthier is recommended for extensive damage or if you're uncertain about handling repairs yourself.
Lastly, regular maintenance checks can help catch any emerging issues before they escalate into larger problems. By being proactive, you can enjoy your guitar for years without the need for extensive repairs. With a little care, your guitar neck can stay in top shape, allowing you to focus on what you love most—playing music.
When to Seek Professional Help for Guitar Repairs
While many minor repairs can be tackled at home, there are times when professional help is warranted. If you encounter extensive cracks or structural issues, it may be best to consult a luthier. A trained professional has the expertise and tools necessary to address complex repairs, ensuring that your instrument remains playable and retains its value.
Another situation to consider professional assistance is when you’re unsure about the repair process. If you're feeling overwhelmed or anxious about potentially damaging your guitar further, don’t hesitate to reach out for help. A luthier can provide advice, or even take care of the repairs for you, giving you peace of mind.
Ultimately, knowing when to seek help is part of being a responsible guitar owner. While DIY repairs can be rewarding, understanding your limits will help you maintain the integrity of your instrument. With a balanced approach, you can enjoy your guitar for many years to come, whether you’re fixing it yourself or relying on a trusted expert.