Best Practices for Recording Electric Guitar in the Studio
Choosing the Right Guitar for Your Sound
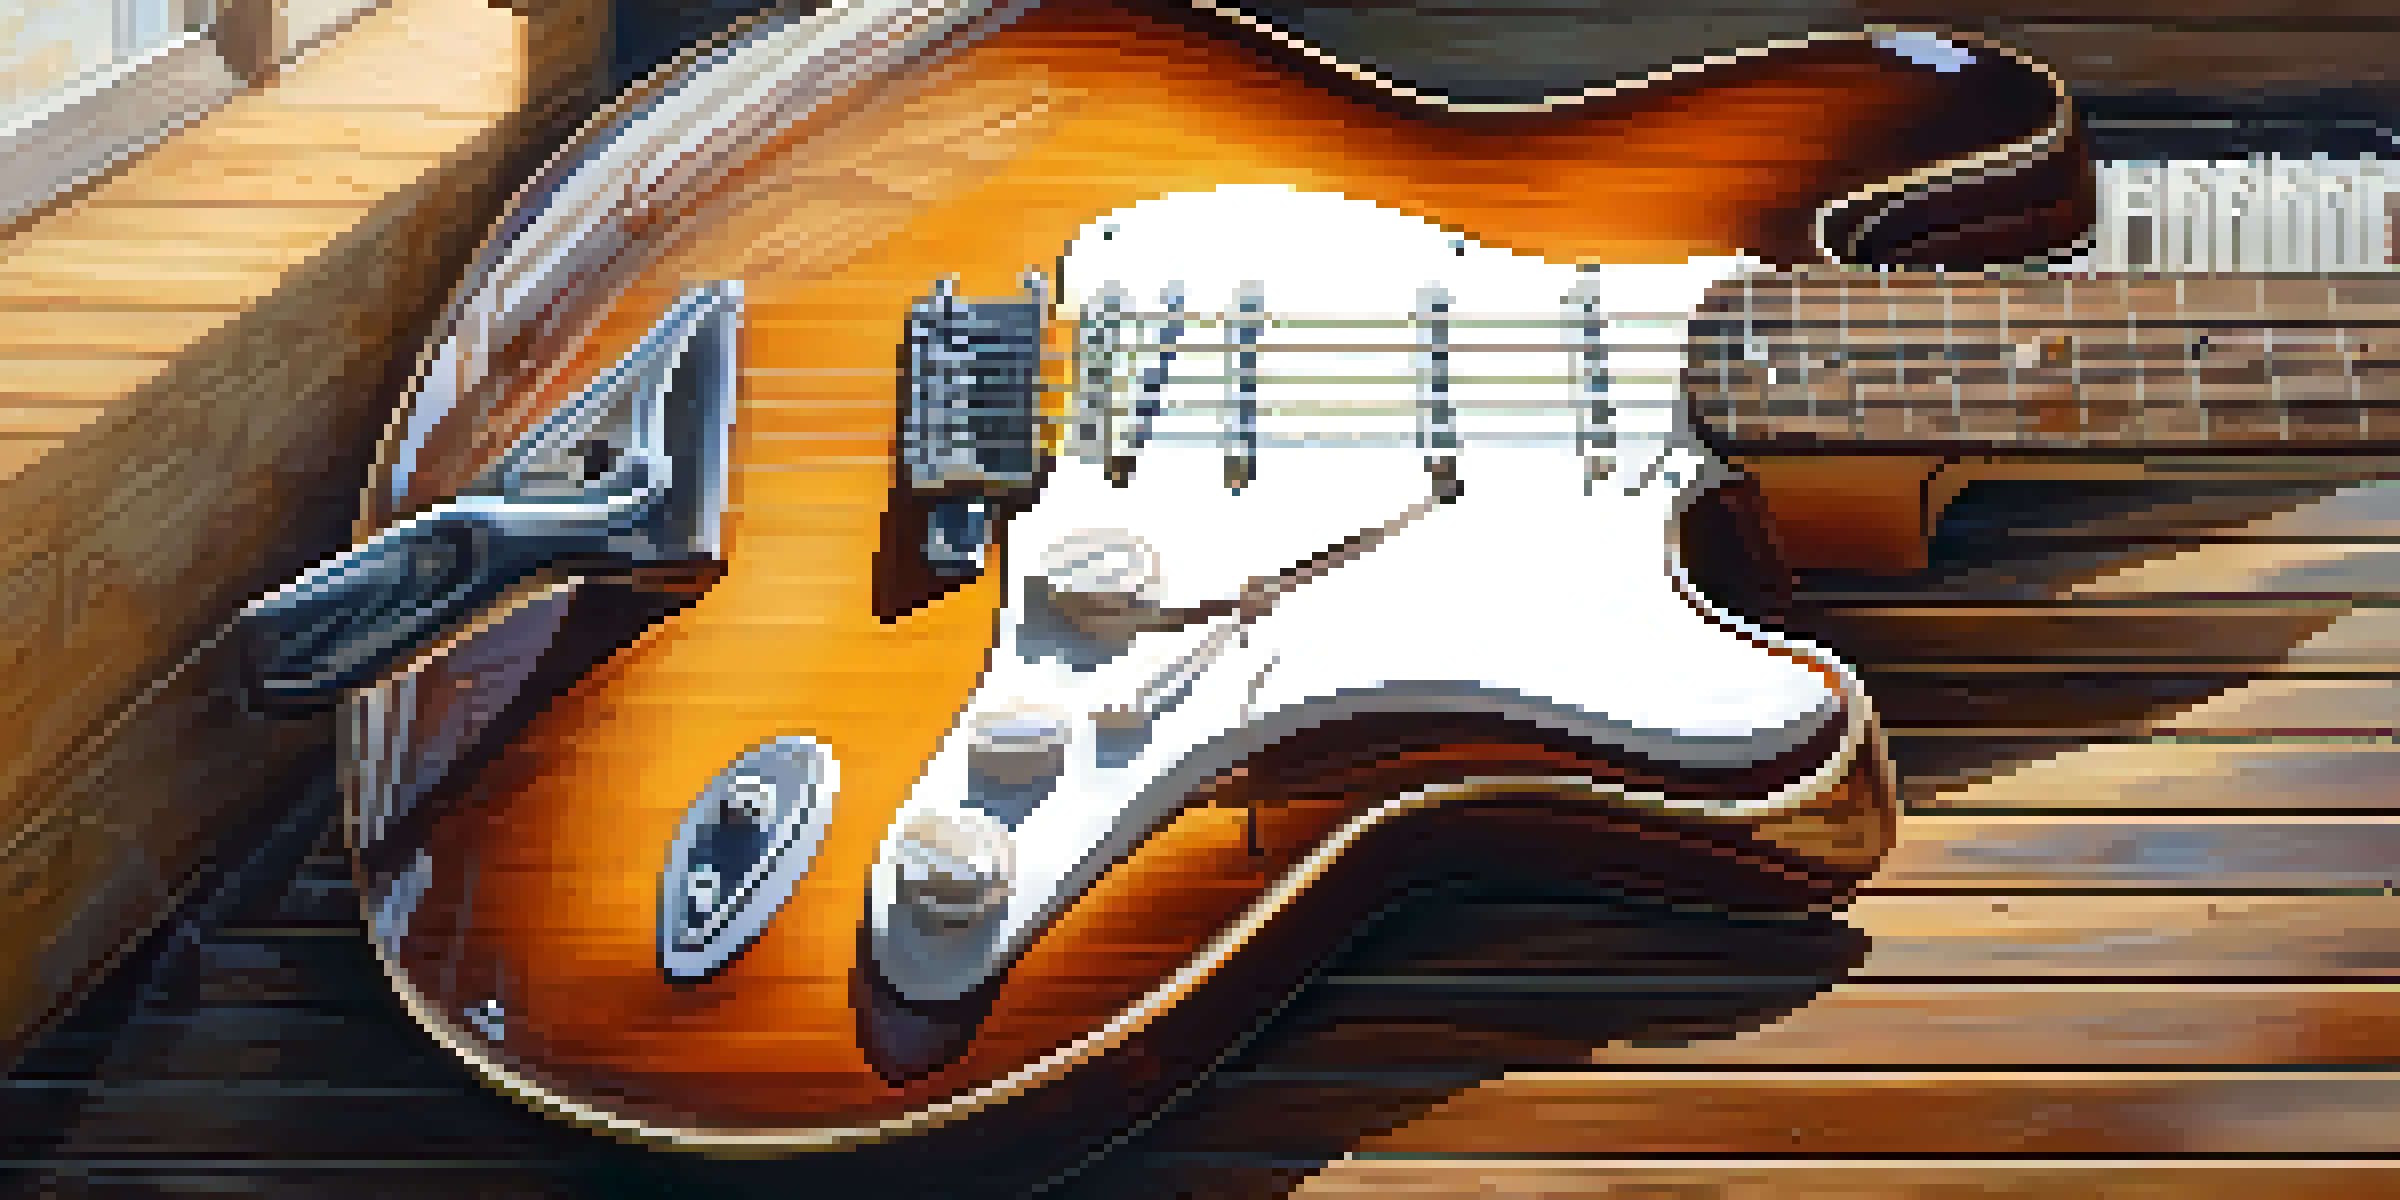
Before hitting the studio, it's crucial to select the right electric guitar that fits your sound. Different guitars have unique tonal qualities, so consider the genre you're working with. For example, a Fender Stratocaster might be perfect for bright, clean tones in rock, while a Gibson Les Paul offers a richer, heavier sound for blues or metal.
The guitar is a miniature orchestra in itself.
Once you've chosen your guitar, ensure it’s properly set up. This includes tuning, intonation, and adjusting the action to your preference. A well-maintained instrument can make all the difference in achieving the sound you're after.
Don’t hesitate to experiment with different guitars throughout your recording session. Sometimes, the perfect tone can come from an unexpected source, adding depth and character to your tracks.
Using the Right Amplifier and Effects
The amplifier you choose can significantly shape your guitar's tone. For instance, tube amps are often preferred for their warm, rich sound, while solid-state amps may deliver a cleaner output. Consider what complements your playing style and the overall vibe of the song.
Additionally, incorporating effects pedals can enhance your sound dramatically. Think about using overdrive for a gritty texture or delay for added depth. However, it's essential to strike a balance; too many effects can muddy your sound, so choose wisely.
Choose the Right Guitar
Selecting an electric guitar that complements your genre is essential for achieving the desired sound in your recordings.
Always test different amp settings and pedal combinations before recording. This experimentation can uncover unique tones that elevate your music and create a signature sound.
Microphone Selection and Placement Tips
Selecting the right microphone is key to capturing the essence of your guitar sound. Dynamic microphones are great for high-volume situations, while condenser mics can capture delicate nuances in quieter settings. Consider using a combination of both for a fuller sound.
Tones are the colors of the music, and they can paint a picture of emotion and thought.
Placement is just as important as the microphone itself. Experiment with positioning the mic close to the speaker cone for a more direct sound or further out for a roomier tone. This can drastically change the character of your recording.
Don't be afraid to use multiple microphones simultaneously to capture different aspects of your guitar tone. Blend these tracks later in the mix for a richer and more dynamic sound.
Setting Up Your Recording Environment
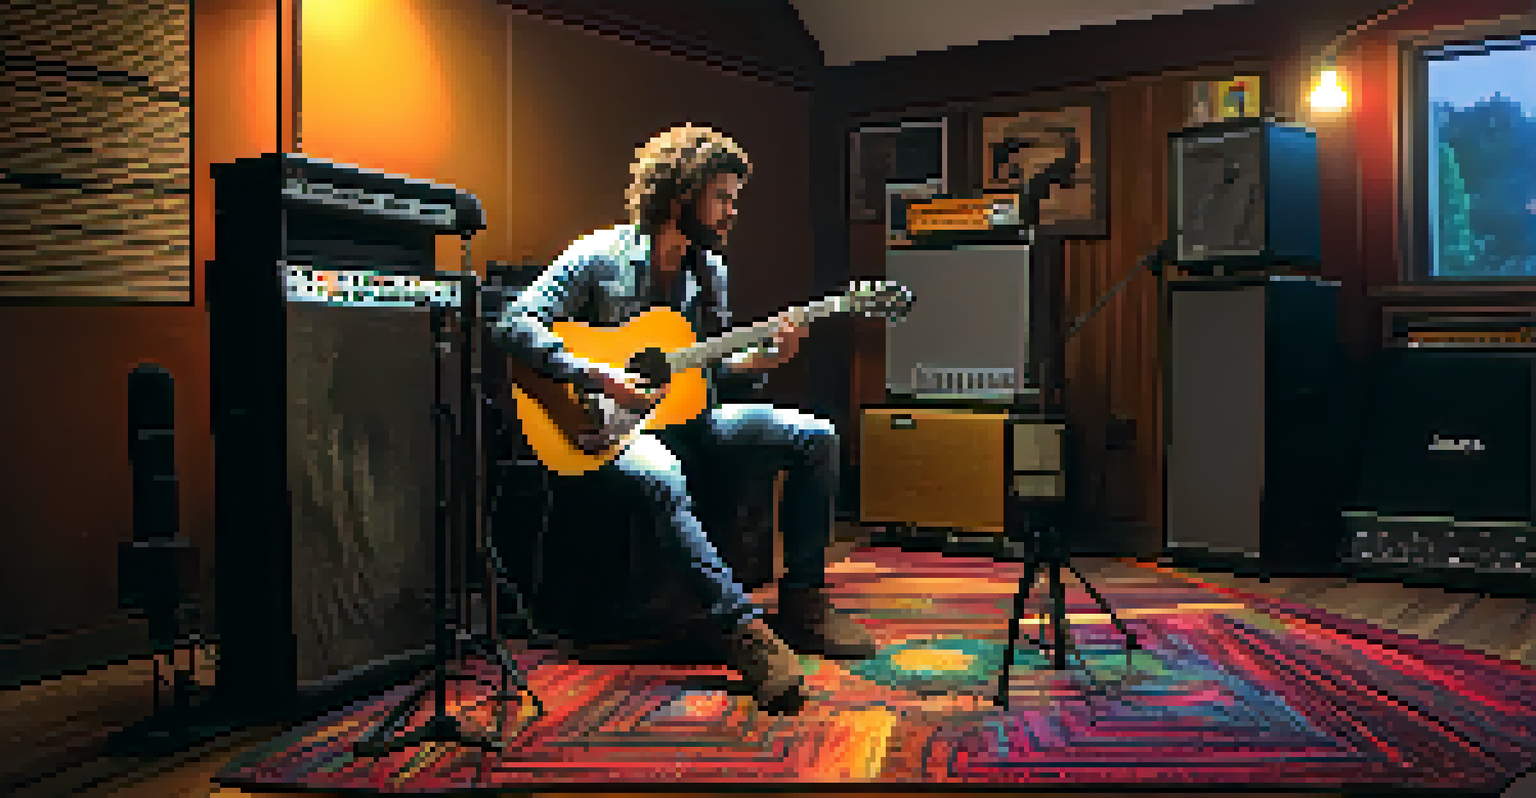
Creating the right environment for recording can greatly impact the quality of your guitar tracks. Make sure your space is acoustically treated to minimize unwanted reflections and noise. Simple solutions like using foam panels or heavy curtains can help.
Consider the background noise as well; even a ticking clock can be distracting. Aim for a quiet space where you can focus solely on your playing. This attention to detail allows for a more immersive recording experience.
Optimize Your Recording Setup
Creating an acoustically treated environment and ensuring proper microphone placement can significantly enhance the quality of your guitar tracks.
Lastly, ensure that your recording equipment is set up properly. Check all connections and settings before you start, so you can focus on capturing the best performance without technical distractions.
Dialing in the Perfect Tone Before Recording
Before you hit the record button, take time to dial in the perfect tone. This involves adjusting your amp settings, effects, and even your playing style to match the vibe of the song. Think of it as fine-tuning an instrument; every little adjustment can lead to a more polished sound.
Listening to reference tracks can be helpful here. Identify tones that resonate with you and try to replicate them with your setup. This can guide your choices and help you achieve a more professional sound.
Lastly, don’t forget to rely on your ears. Trust your instincts during this process; if something sounds off, tweak it! The goal is to capture the best version of your sound before recording.
Layering Guitar Tracks for Depth and Texture
Layering guitar tracks is a fantastic way to add depth and complexity to your recordings. Start with a main rhythm part, then consider adding additional layers, such as harmonies or lead lines. This creates a fuller sound that captivates listeners.
When layering, be mindful of the frequency spectrum. Make sure each guitar part occupies its own space in the mix to avoid muddiness. Panning guitars left and right can also create a more immersive listening experience.
Layer and Mix for Depth
Layering guitar tracks and using mixing techniques like EQ and reverb can add richness and clarity to your recordings.
Experiment with different playing styles on each layer. For instance, you might play one track with a clean tone and another with distortion. This contrast can add richness and keep your arrangements interesting.
Mixing Techniques for Electric Guitar Tracks
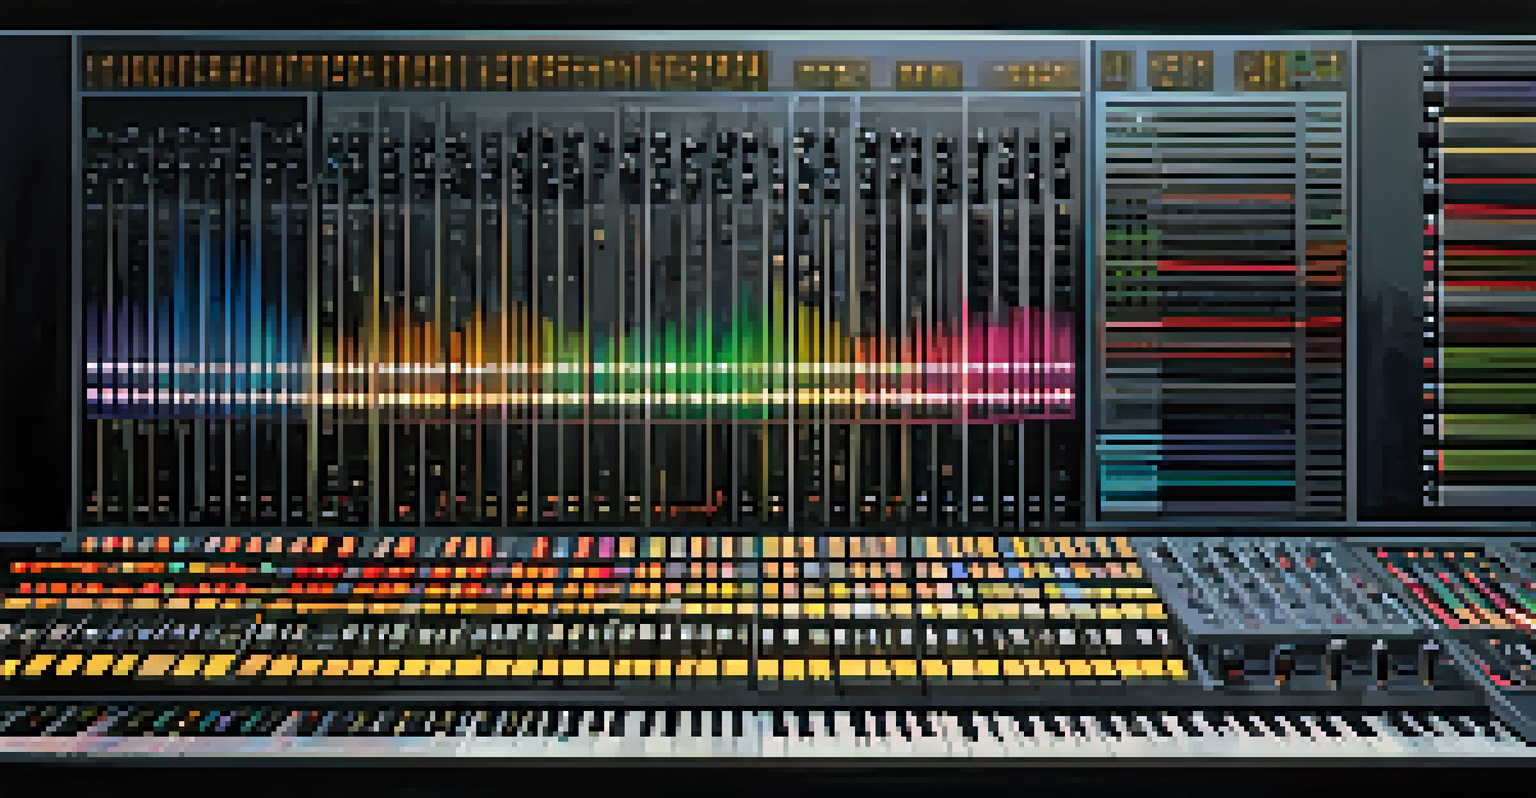
Once your guitar tracks are recorded, the mixing process begins. Start by balancing the levels of each track to ensure clarity. A well-mixed guitar can stand out without overpowering other instruments in the mix.
Consider using EQ to carve out space for your guitar in the mix. Cutting unnecessary low frequencies can help prevent muddiness, while boosting mid and high frequencies can add presence and shine. Just remember, subtlety is key; drastic changes can lead to unnatural sounds.
Finally, don't overlook the importance of reverb and delay during mixing. A touch of reverb can create a sense of space, while delay can add depth. Use these effects judiciously to enhance your sound without losing clarity.